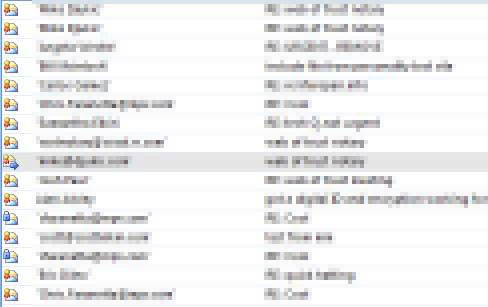
Notice the red badge on each envelope and the blue lock in the image below?
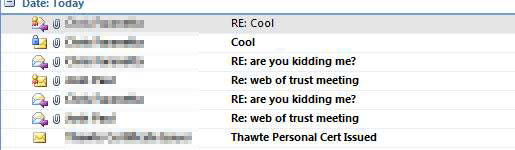
The red badge tells me that the person is who they say they are, and the blue lock tells me that the message is encrypted.
Not only is this functionally important, but it really makes their email stand out and appear important.
This is accomplished by the use of a Personal E-mail Certificate, and is pretty easy to make work once you know the basics.
1. In order to “digitally sign” your emails going out, you first need to find a provider to issue you one. I used Thawte, which offers one for free:
Look for the “Click here to get your Personal E-mail Certificate now!” near the bottom of the page to start the process.
2. You will be asked many personal questions which will set you up with your credentials to login to Thawte. You won’t ever have to do this again once you complete this process.
3. Next, you with see a screen to start the certificate process:
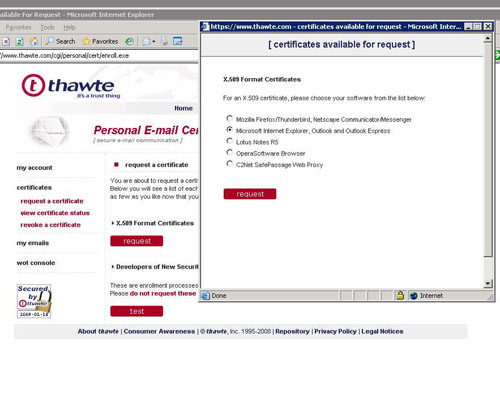
When you click the red “request” button under “X.509 Format Certificates”, you will get a popup similar to the one above.
4. In order to generate a Outlook compatible certificate, it told me that I had to use Internet Explorer, but Thawte’s site wouldn’t work with IE7. It would just give me a VBScript error 3/4 through the wizard.
To get around it, I found a machine to use IE6, which worked flawlessly. The rest of the tutorial is assuming you are using that browser. If you need the certificate for Thunderbird, you can just use Firefox.
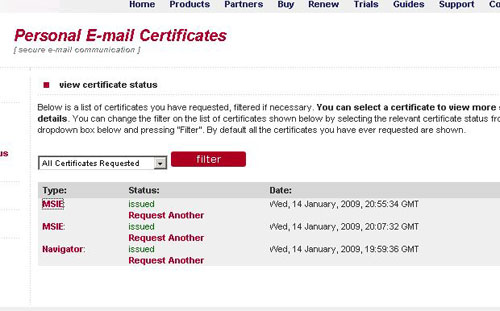
5. Once you finish the wizard, you will see the following screen and all the certificates you created. It only takes a few minutes to change the status from “Pending” to “Issued”.
6. Click the “MSIE” link for the certificate you just created, which will open this page:
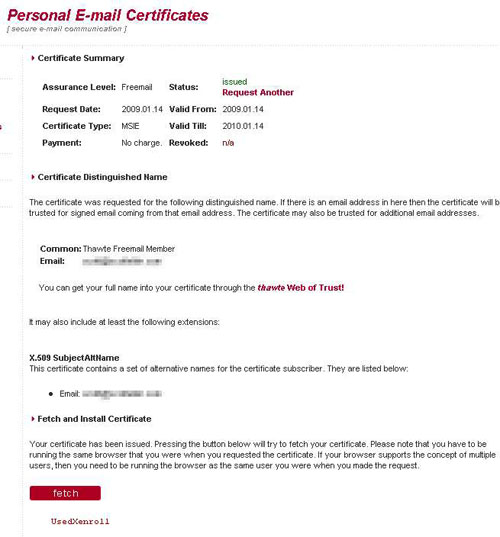
7. Click on the “fetch” button at the bottom of the page, agree to all the prompts, and the certificate will be installed into your IE6 browser.
8. Now we need to export the certificate. First, go into your IE6 options, and click the content tab:
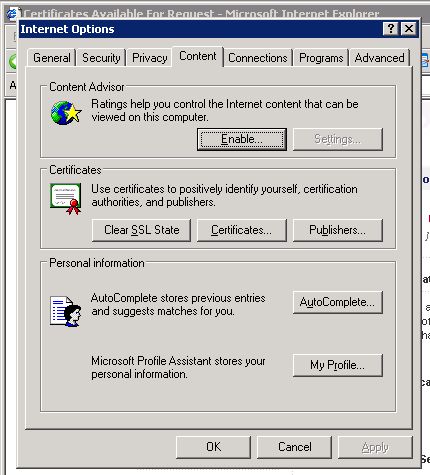
9. Click “Certificates…”
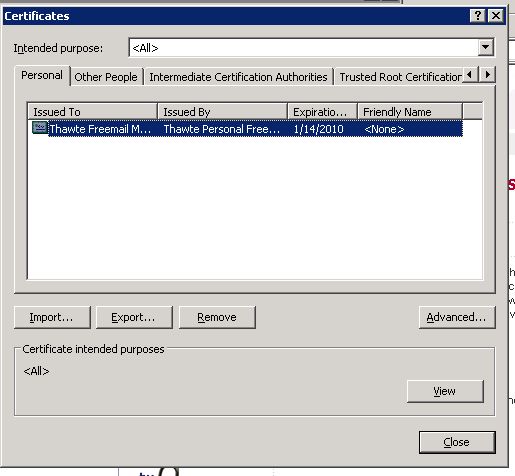
10. And finally, highlight the certificate and click “Export…”. I just put “C:\scott-key.pfx”. It will append the “pfx” to the end if you don’t add it.
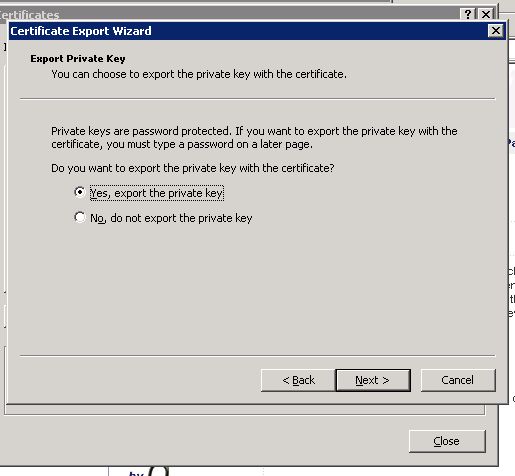
In this wizard, make sure you select to export your private key, and to delete it once you have successfully exported it. It will ask for a password at one point, and you will use that same password when importing later.
11. Now we need to install the certificate into Outlook. For Outlook 2007, click on Tools > Trust Center > E-mail Security:
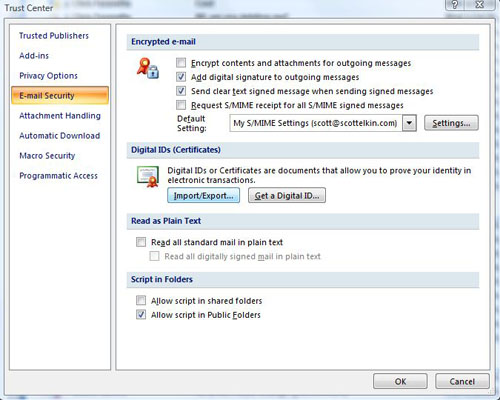
12. Click both the “Add digital signature to outgoing messages” and “Send clear text signed message when sending signed messages” checkboxes.
13. Now click “Import/Export”, browse to where you saved your certificate, and it will ask you for the password you used while exporting it.
14. Try sending an email, and it should ask you to confirm the association between the certificate and your email. Agree to the dialog box.
15. Once you send some email, look at your sent folder to make sure they are all signed!
Now that this is complete, you also have the ability to easily encrypt your messages if the person you are sending to also has a certificate. I will go through that process soon.